Trail Report – 1/17/15 – Turner Run

January 20, 2015

sat map

I was a little grumpy this week and I didn’t have a good reason to be.  Then I realized I had not really gotten in any ride time in the past few weeks.  We are talking very minimal butt in the saddle.  At least the one time I did get in a good ride it was a games practice!  So I needed a mood-adjusting-ride stat!

IMG_4201

Having two days off in a row, with the weather predicted to break into the 40s, with no precipitation, that meant trail time.  I decided to start off Saturday in a new-to-me trail area, Turner Run.  Its just north of the popular Slate Lick area.  Turner Run Road turns into a dirt road, and works its way up into the mountains.  I drove up, and passed the first fire road signs, continuing to the closed fire road gate to park.  There are quite a few places to park between the first National Forest signs and the closed gate, and plenty of room in three places to easily turn a trailer around).

088

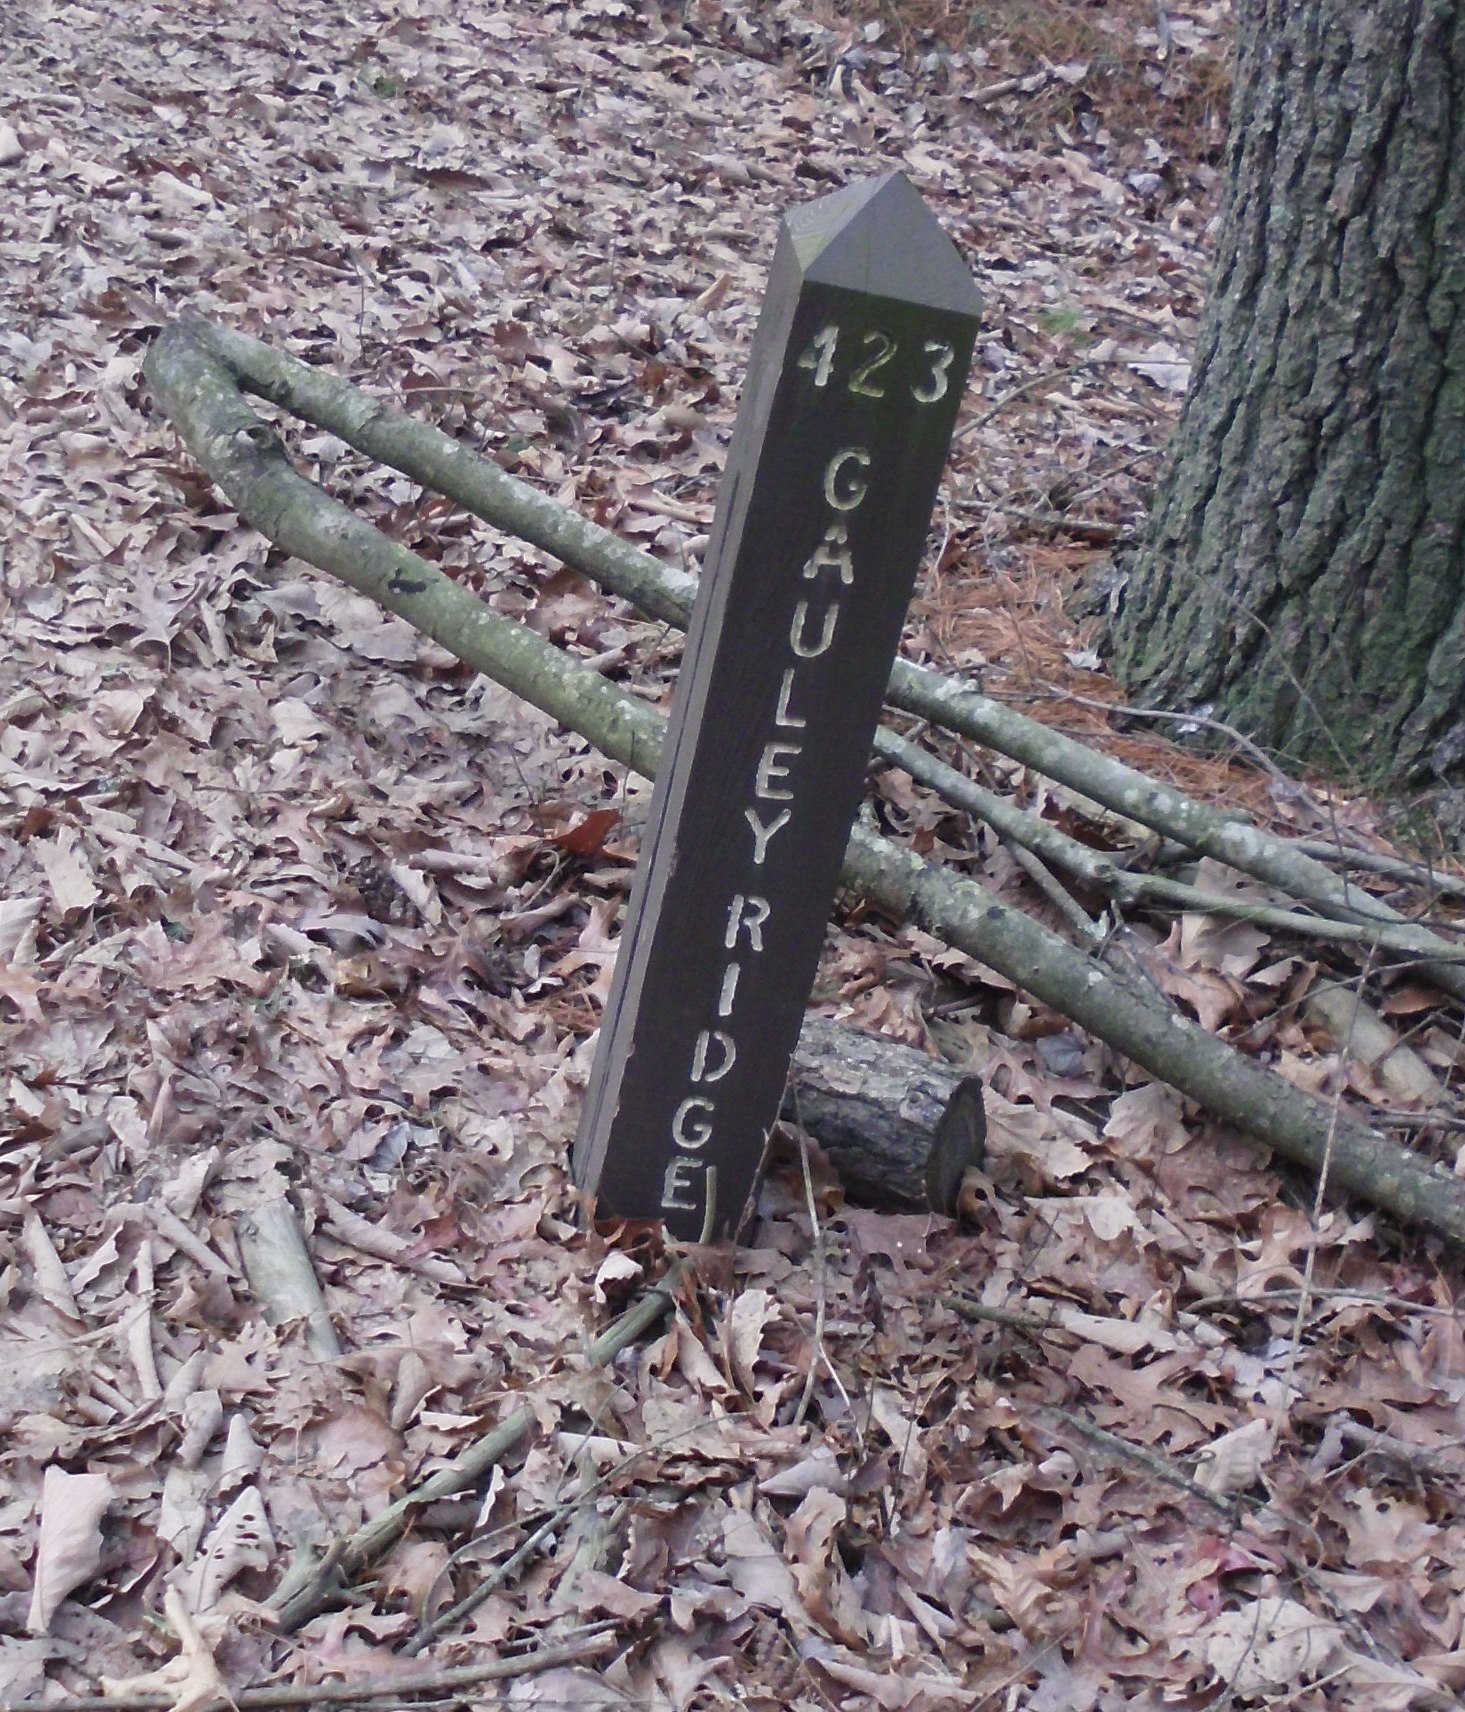
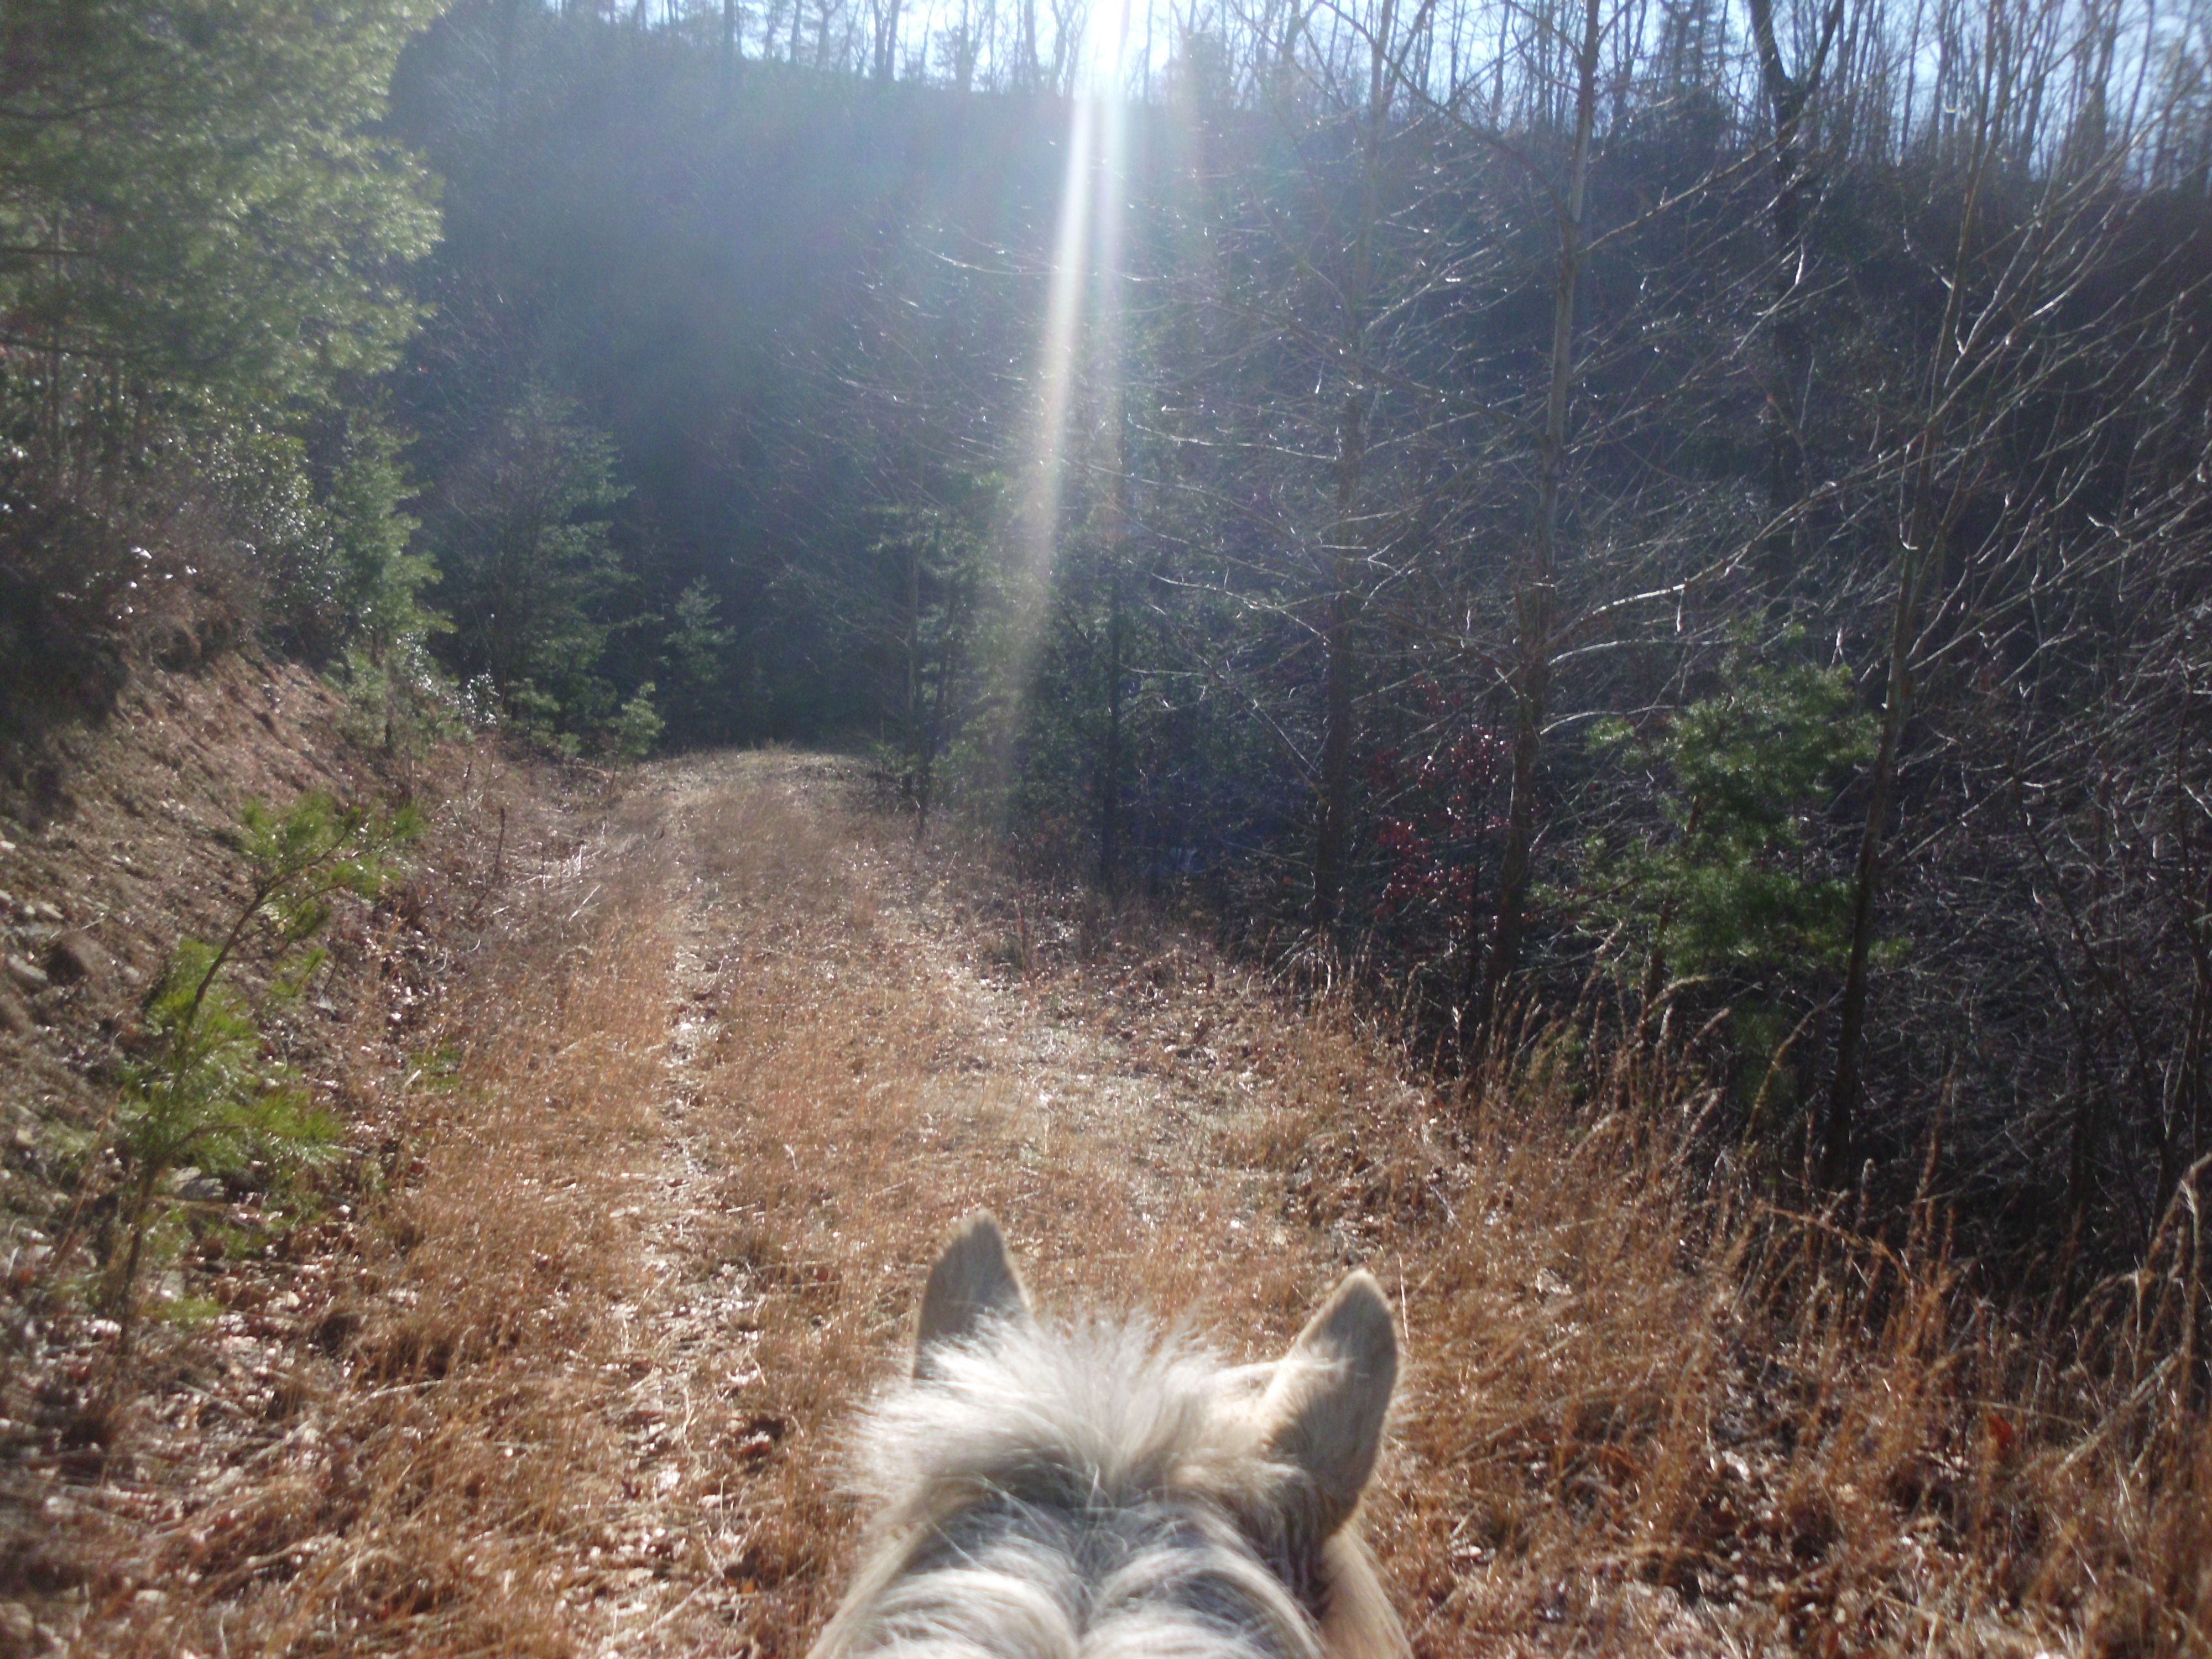
I decided for this ride, I was going to get in a few miles and make tracks up the main fire road, 423 Gauley Ridge.  This fire road gate was clearly open during hunting season, and a lot of hunters made places along it home.  There are plenty of pulls offs, camping circles and parking.  It is a wide and rather smooth fire road, no gravel and very few rocks.  I would feel comfortable taking a barefoot pony there to ride on this fire road and probably will later this spring.

023 024

032

I made a right onto the first clearly marked fire road that came up, 423p Dave’s Turnpike.  There was a large cleared area for camping at this juncture, and 423p was closed off with a gate.  It clearly has been closed for a long time, the road was over grown, although still clear of trees.  It wound down and around, ending at a nice wide turn around.  The footing was a bit rougher than the main fire road, although Simon and I had a nice gallop back up it and the views were pretty amazing.

045 012

I suspected I had missed the first split in the fire road, which appeared to make a loop (see map above), and that this must have been the back connection.  Clearly this was not the case.  Looking at the map it was obvious I had surpassed the loop area completely and this was the first fire road branch on the right.  I continued along, passing a turn to the left and eventually turning around at the next turn to the left where I met some friendly grouse hunters.

074

021

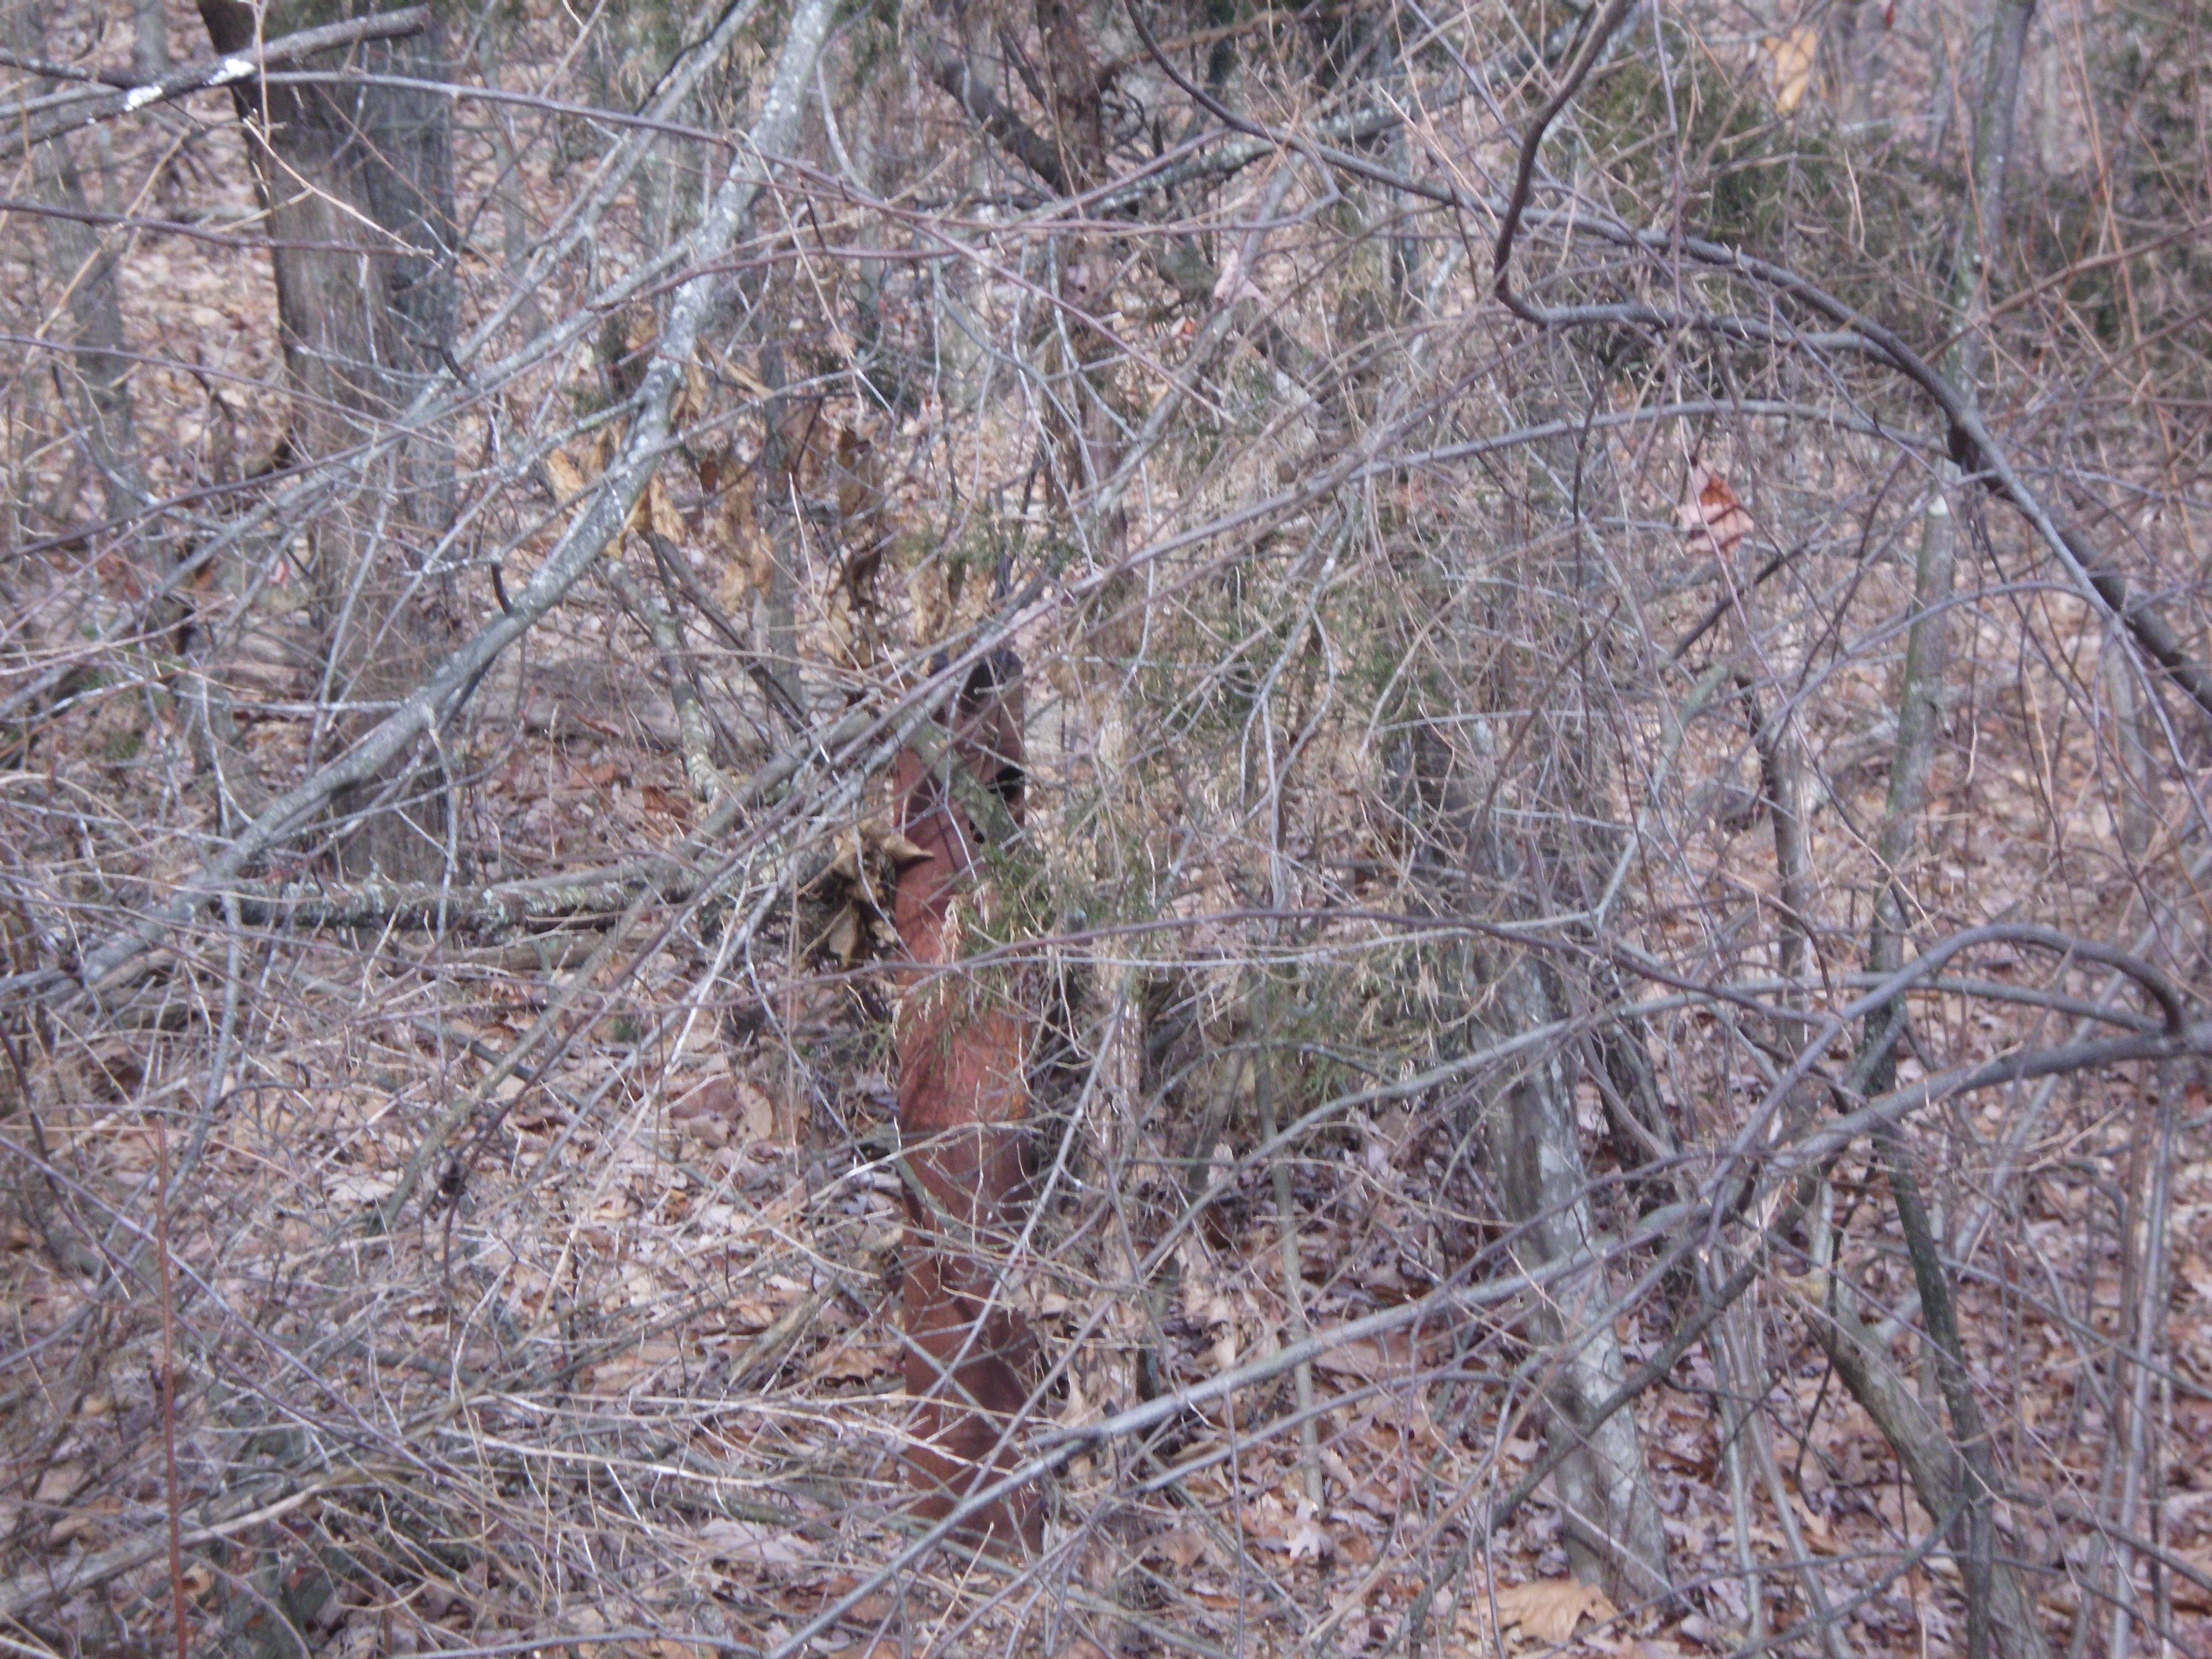
I passed quite a few side trails, which I decided to forgo for the day. This was not easy for me!  I love to explore.  I also saw a destroyed fire gate lost in the woods like some distopian future reality.

073

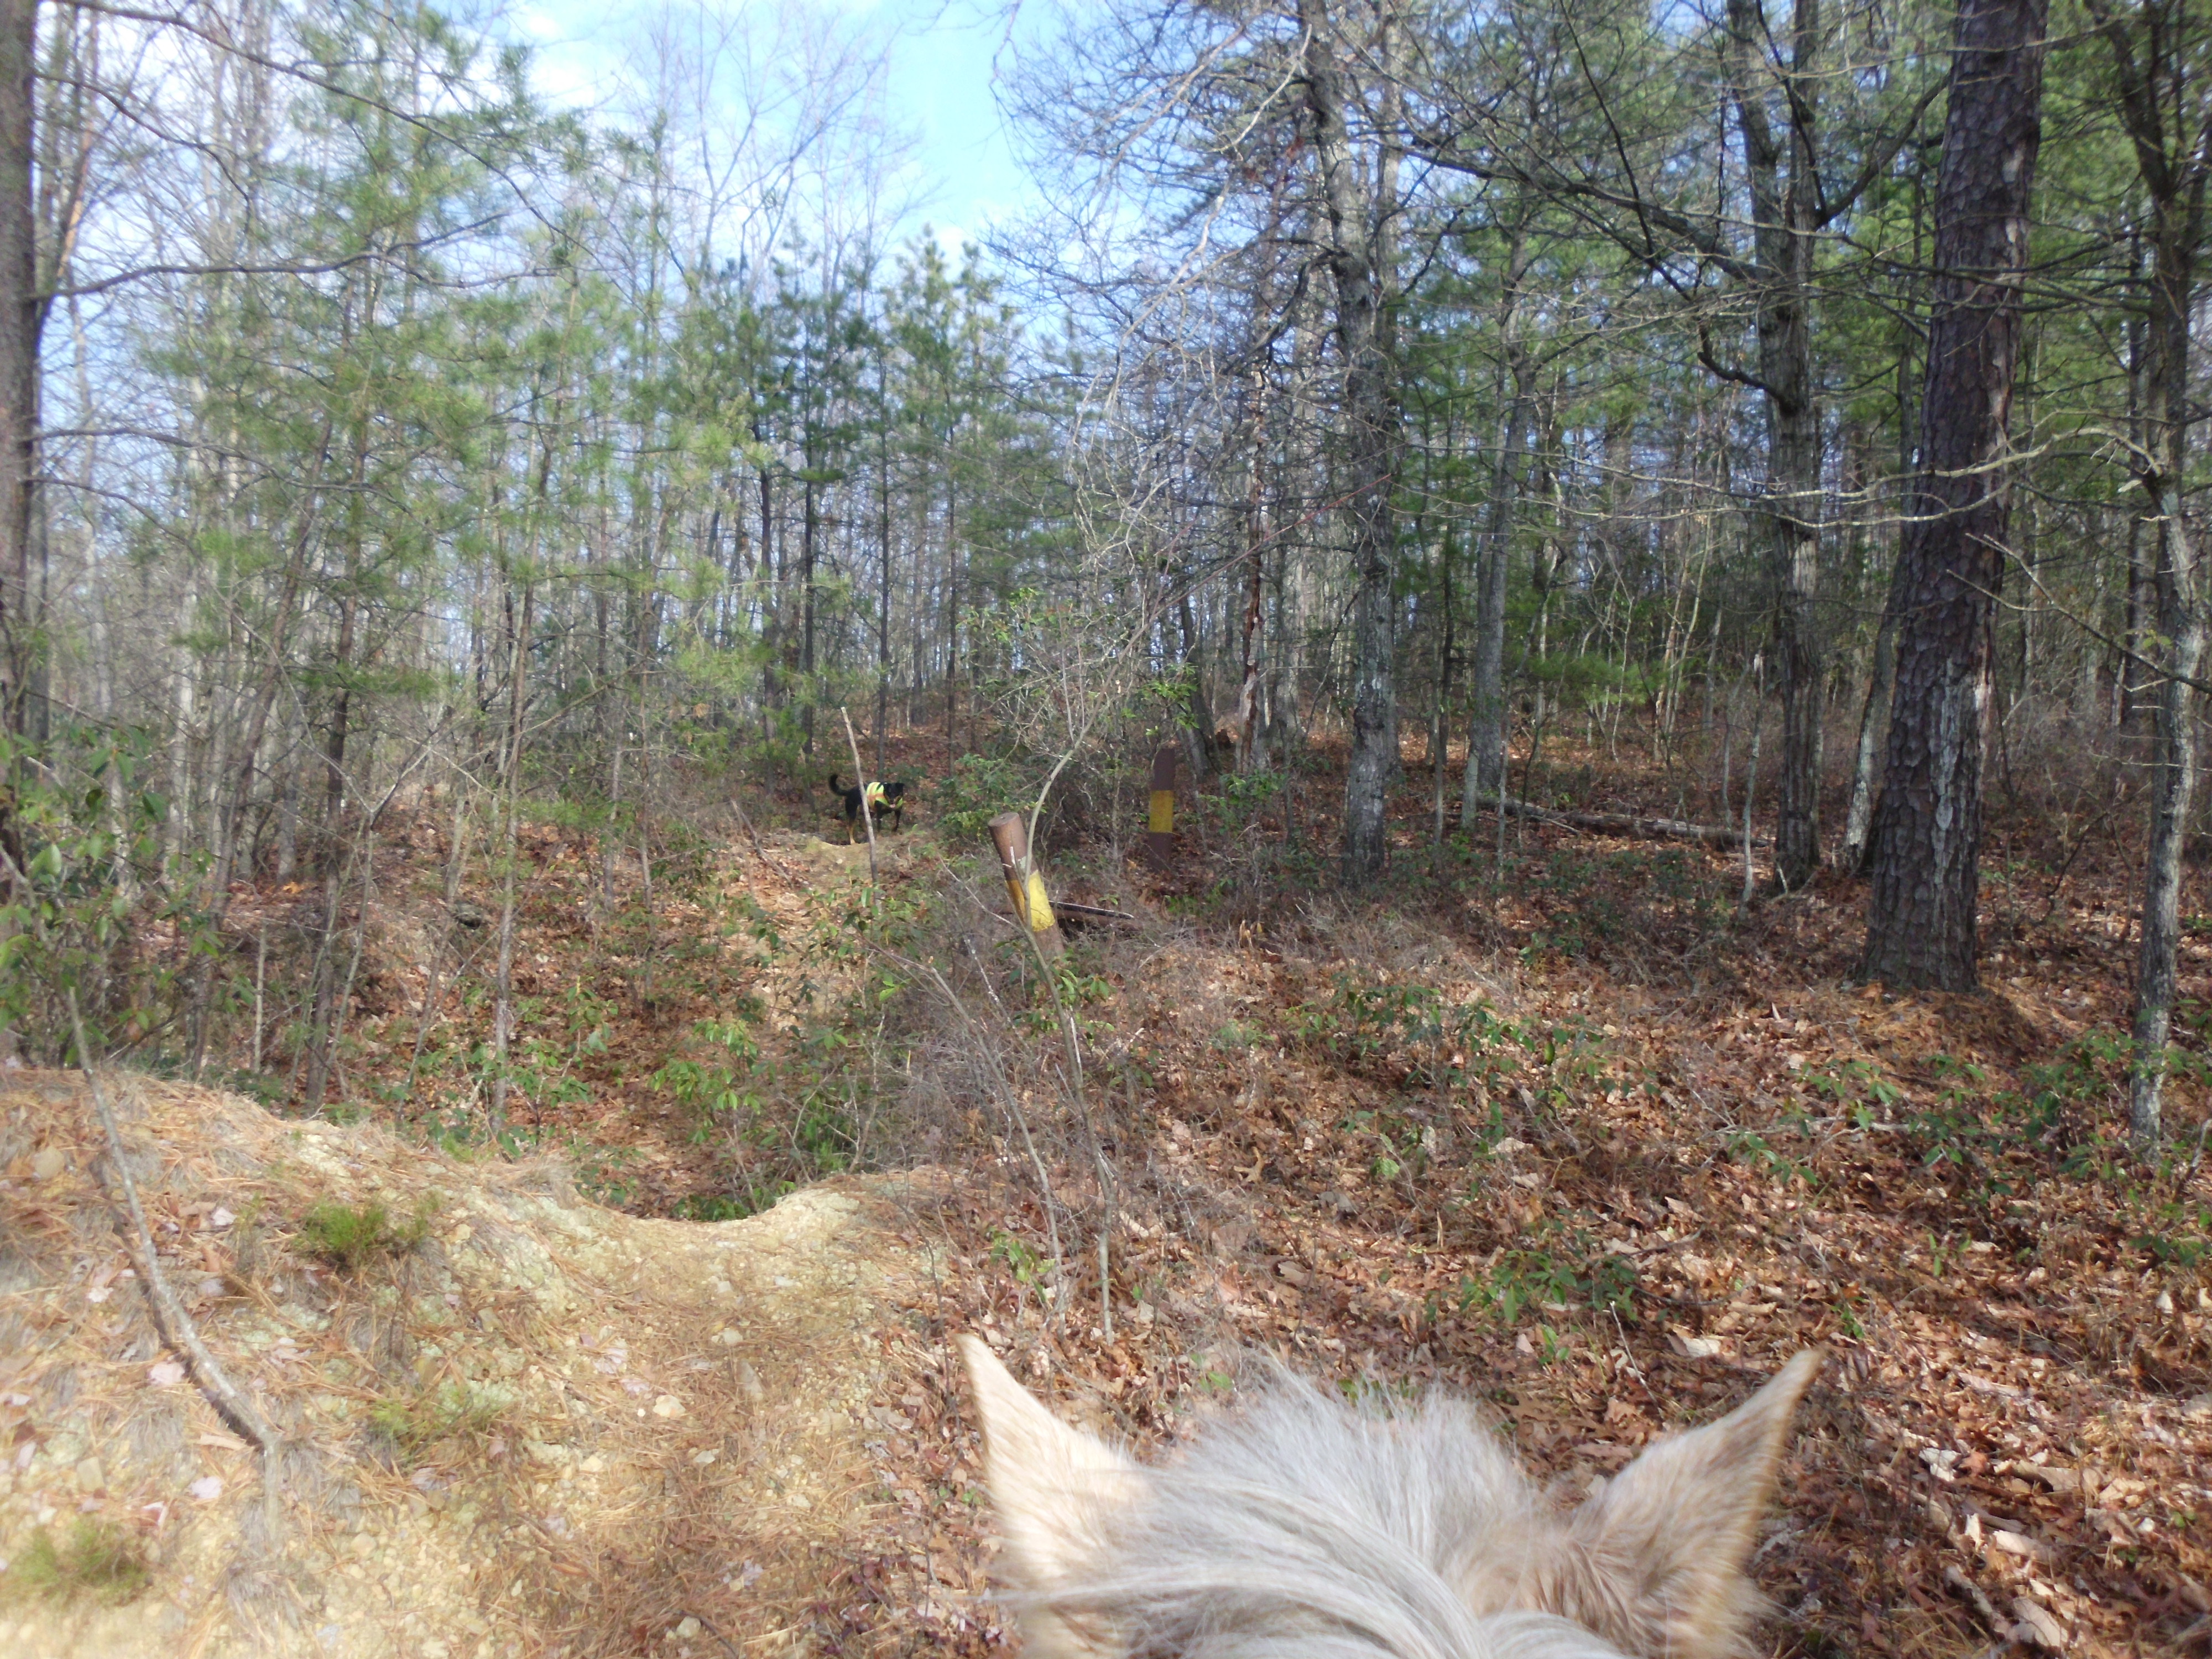
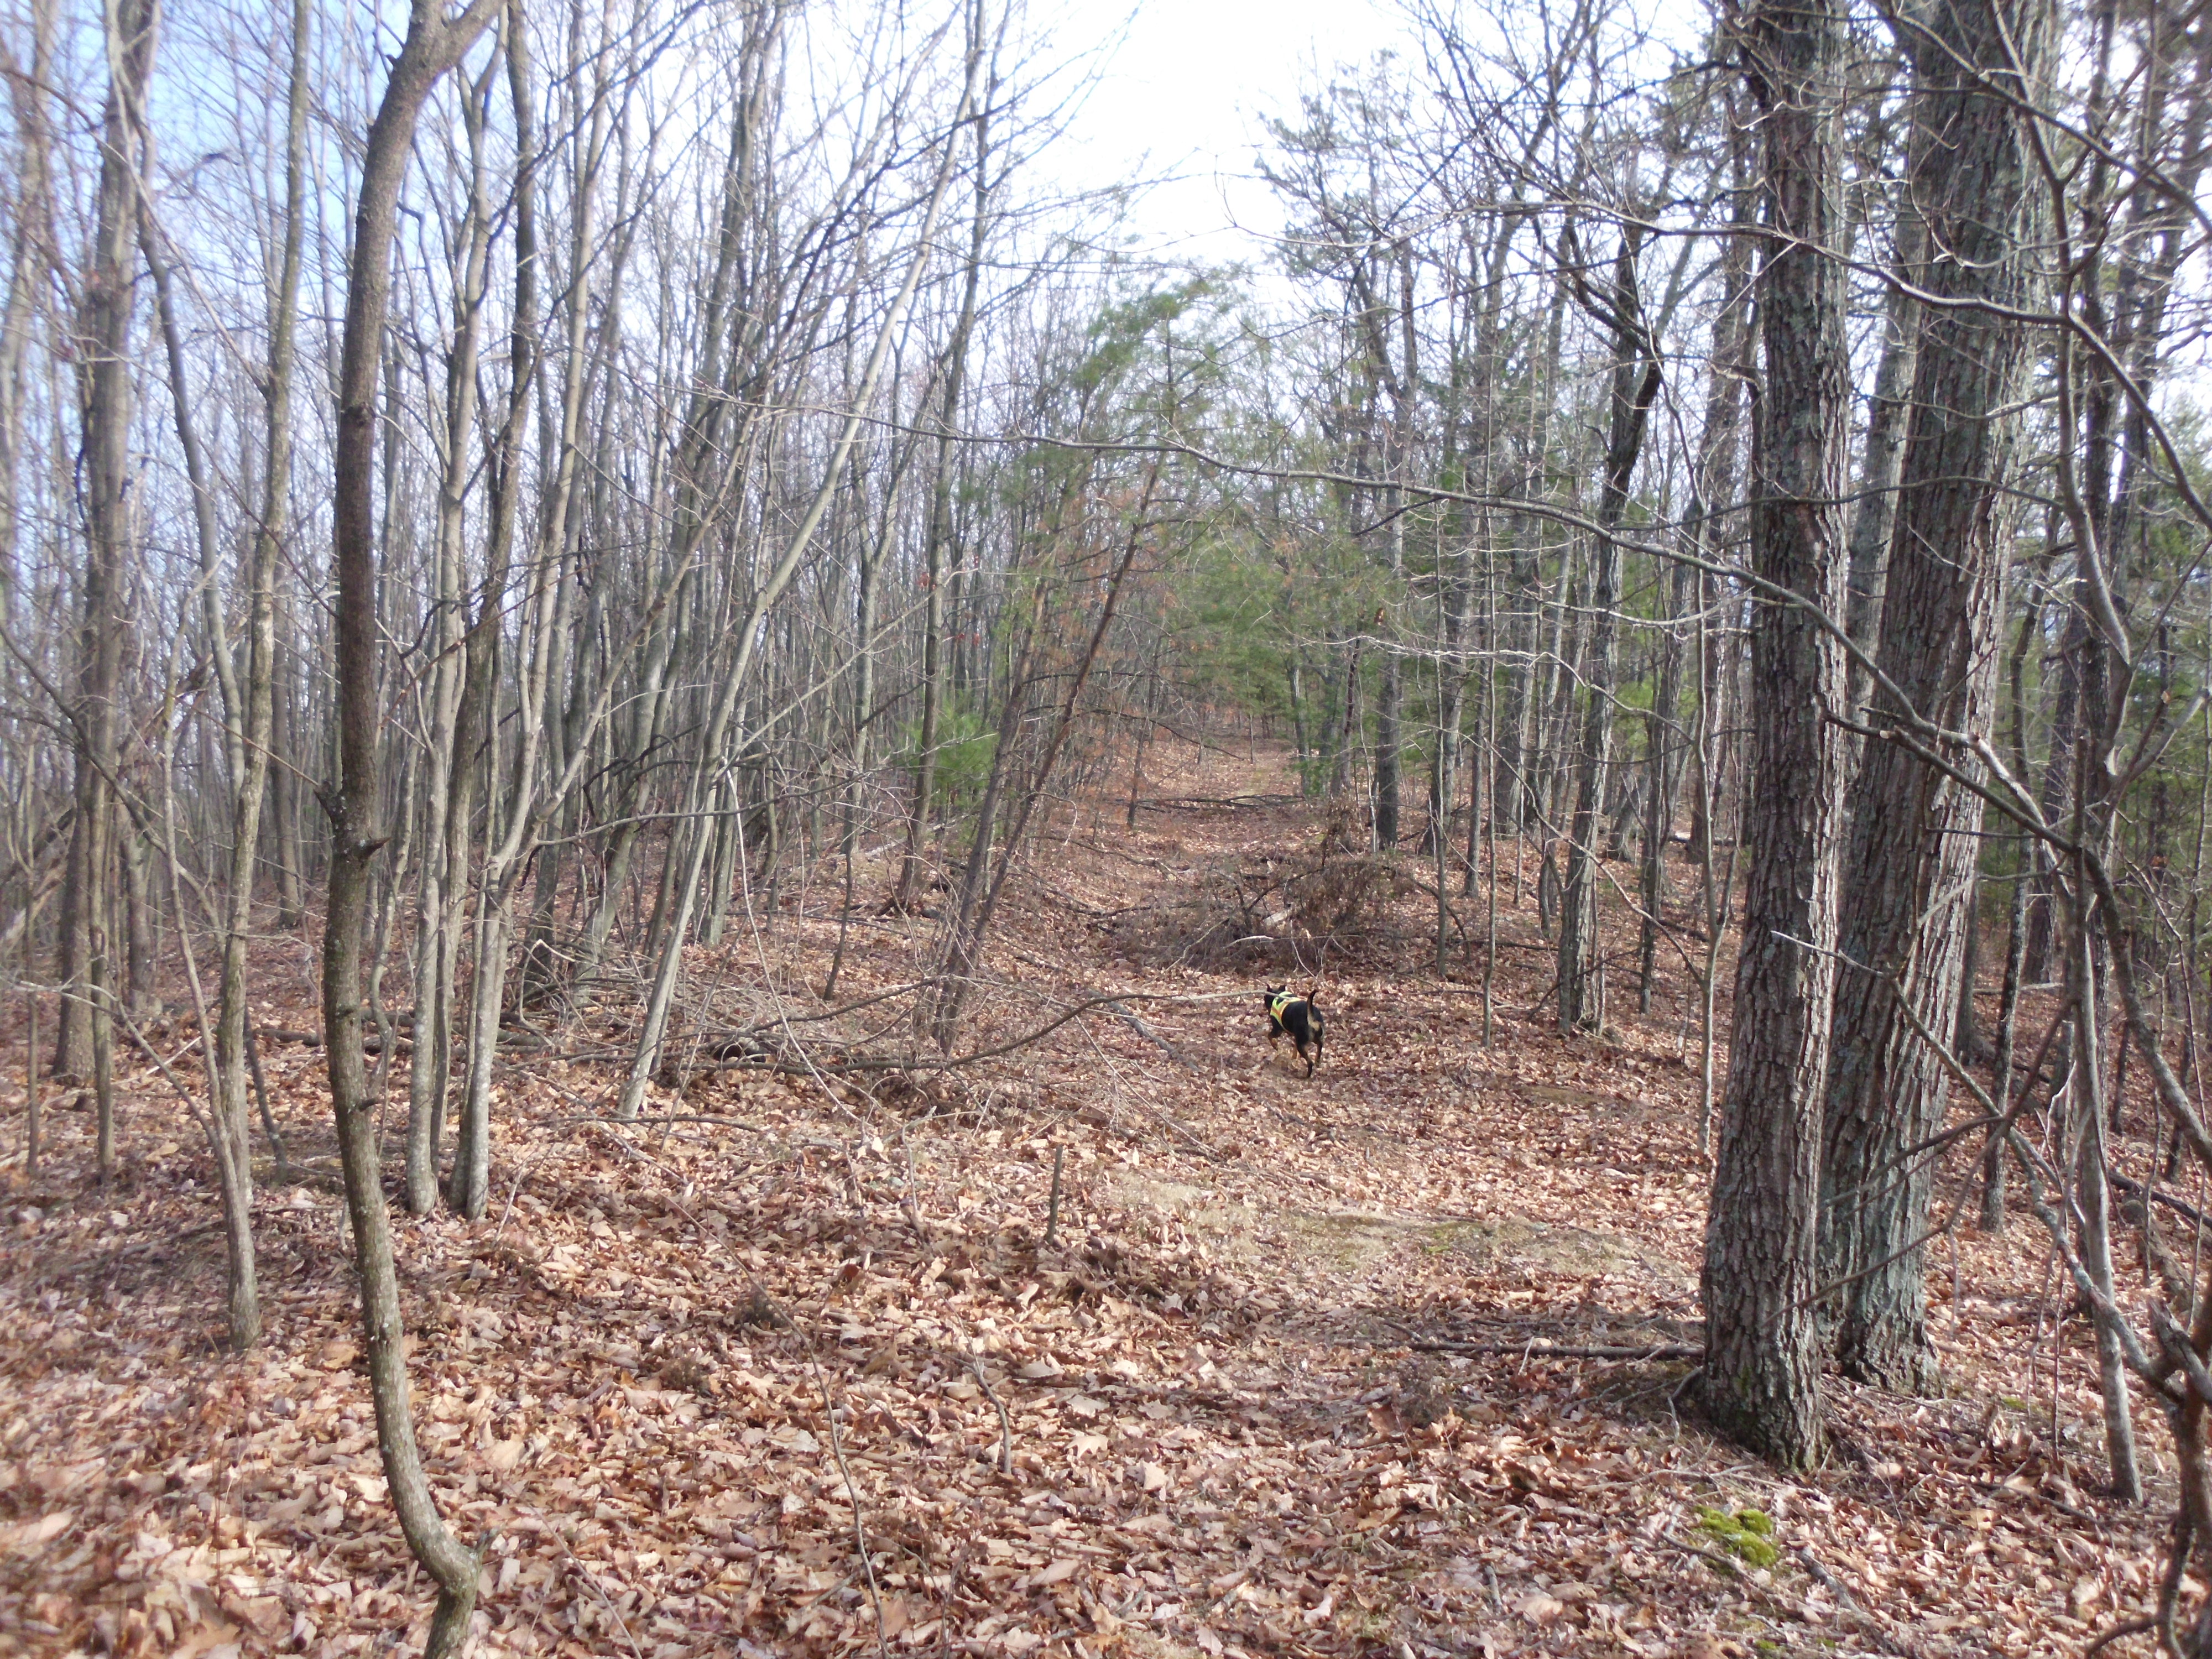
I did decide to give one of the unmarked side trails a try on the way back.  I suspected it was the missing part of the loop that is so clearly marked on the forest service map.  And yep, I was right!  There was even an old busted up gate a little ways back (although there was nothing at the bottom end to mark it).  Completely over grown, and not a trail I care to try again, it was pleasant in some places, but just too over grown in general.

075

077

080 001

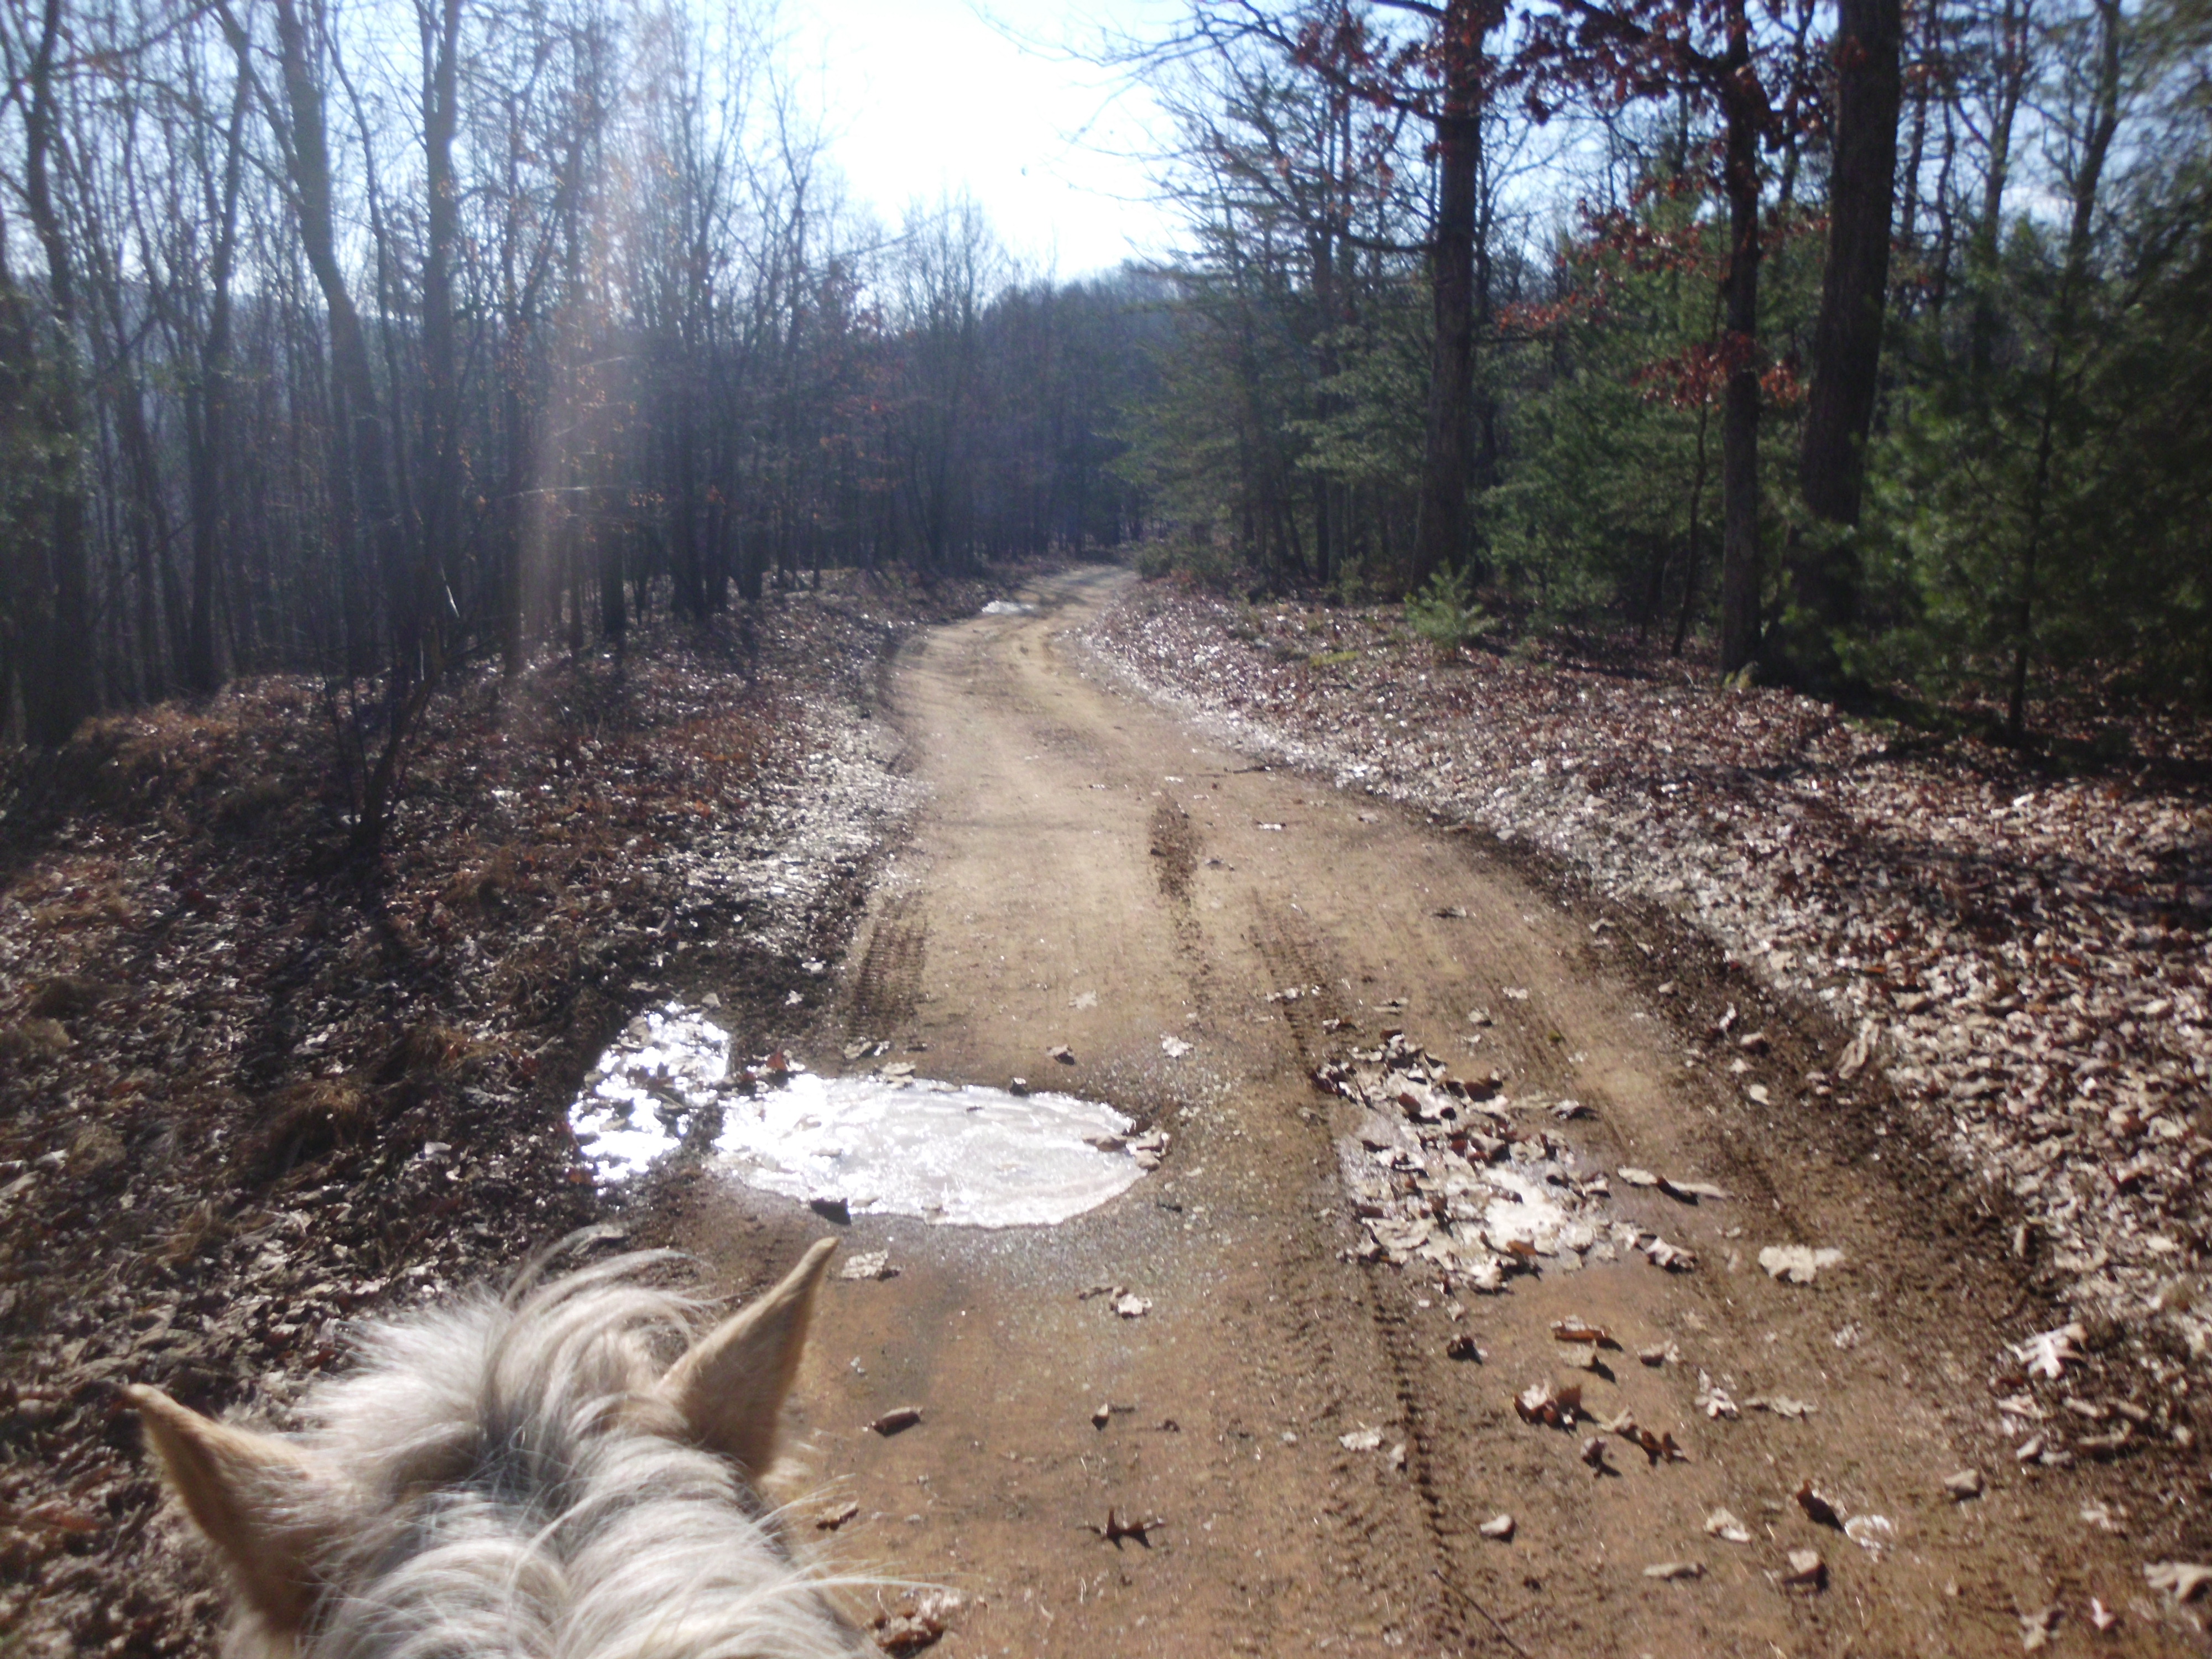
The fire road is relatively smooth and flat for the most part, and there are plenty of nice views thrown in.  Even during this boring brown time of the year, it was a lovely ride.  I did not see much wildlife, just some common birds and squirrels.  Even the grouse hunters said they were luckless for the day.  I am looking forward to some more exploring rides up there, as well as putting in some miles.

sat

Hillbilly Teeth – 2015

JANUARY 18, 2015

My ponies have no regard for my teeth. Today Simon head bumped my chin during feed time. It wasn’t even hard, but it was enough for my teeth to chomp together and chip one of my front teeth. Actually, it is a chip in the fake part of my front tooth. The fake part was from when I feel off Poe in June and broke some teeth.

My husband assures me you can’t tell.

#ponylife

2015/01/img_4203.jpg

2015/01/img_4190-0.jpg

Cartoon Herd 2015

January 14, 2015

It’s hard to have good posts in the winter when not much is going on.  I have hardly been able to ride recently with the lack of daylight, the extreme cold, snow/ice and having had a flu.  I entertained myself with this cartoon horse maker app the other day.  I made my little herd into cartoons as best I could with the options available.
Simon, Spike and Poe.

2015/01/img_4130.png

Games Practice 1/11/15

January 13, 2015
We missed the last practice and I have hardly ridden at all since it.  Luckily we had one this past Sunday, and two more scheduled for the next two Sundays coming up.

It was a quiet practice with just three of us, Zoe, Becca and myself.  But we got through quite a few races, and really had some fun. It also felt SOOOO good to be back in the saddle after all the cold, dark and sick that’s been messing up my riding time.

I was feeling really on for two flag, getting my put ins nicely at a canter.  Bottle also went particularly well, with me practicing my center placements, and also getting those smoothly at a canter.  Zoe brought to my attention that I was leaning over effectively, which I realized was the case.  We practiced some ball dunks and I felt really good about those, making each one nice and cleanly, and acknowledging how far I was leaning.   I was also really happy with sword race.  We worked with the plastic rings today, and I felt that Zoe and I had really solid speedy handoffs (without loosing fingers, thumbs or rings!).

Becca, playing games for her second time, really enjoyed sword.  I think we will have to do joust and balloon next time because I am sure she will really like those two as well.

Zoe worked on some running vaults and got a nice smack on her leg.  I am sure she has a bruise as a reward.

On the drive home I spent some time thinking about my ride and decided I am really proud of myself.  I rode really well, and I felt more confident and comfortable than I have in a good while.  My skills were on, and I felt *good* with them.  Go Me!

Now to wait until next Sunday to do it again!

IMG_4138

IMG_4137

IMG_4144

IMG_4169

IMG_4163

IMG_4155

IMG_4149

IMG_4170


DIY Barrel Hay Feeders

January 12, 2015

If you feed hay, I am sure you have experienced some aggravation.  Filling nets to hang is time consuming and messy.  I consider it a giant pain in the butt.  Round bales in round bale rings is also messy, and those rings are expensive, and if there is no top on the ring they hay gets rained on.  Throwing hay on the ground is messy, and the ponies tend to poop and pee in it and then won’t eat it.

Too much waste.

I saw a few designs for slow feeders and other DIY (do it yourself) homemade hay feeding structures.  And I really liked the barrel ones.  So Rich and I decided to give it a try.

I needed to get some 55gal plastic barrels.  Preferably ‘food grade’, or ones used for non toxic stuff.   In the past Rich and I had made rain barrels and were able to pick them up from the local recycling center for $8 each.  But the recycling center no longer sells them.  I looked on Craigslist and did not see any listed locally.  So I posted an ISO (in search of) add. I got a response from a dairy farmer almost immediately and I swung by and picked a couple up that day.

IMG_4090

We have three white and one blue.

IMG_4091

First we cut a lid that I could use to fill the barrels and then latch them closed.  Rich sawed around the outside, and then across the top.  He then dripped holes across the top, and using zip ties, we made hinges.

NOTE: after a bout a week, the ponies had busted several of the zip ties hinging one top.  I have found that they smash the lid down, which is breaking the ties.  Ill be replacing the zip ties on the lids with wire or sturdy rope.

IMG_4097

There were two designs I wanted to try.  One –  Net Out The Bottom – was one I saw frequently on the internet.  The other – Net Inside – I sort of pieced together from several other designs.  We wanted to try both and see which we liked best.  So we made one of each, keeping two barrels in reserve, and then would use the design we liked best on those two.

These photos are of the NET INSIDE design.

Next, Rich drilled holes around the top of the barrel and I zip tied a slow feed net into the barrel.

IMG_4098

IMG_4099

The ponies have not broken a single zip holding the net on, or put any holes in the nets.

Lastly, we cut a hold into the front of the barrel leaving a tall lip at the bottom.  We also drilled holes into the bottom, so if any rain did get inside it would be able to drain out.

IMG_4095

IMG_4115

IMG_4117

Lastly we put a screw eye on either side of the barrels top and hung it from a tree.

Done.

IMG_4118

IMG_4119

020

NET INSIDE THE BARREL – What do I think of this design?

What I originally really liked about this design is that I figured all of the hay would be inside the barrel with very little falling onto the ground.  This ended up being true in practice too!  They hay stays inside the barrel.  What I did not really think about was that I would not be able to fit as much hay in this feeder as I would be able to in the other design.  I can generally fit about half a bale.  I could probably fit more if I took the barrel down and fluffed the hay more as I loaded it, shoving it down more.  But that defeats part of the less mess, easy and quick requirements of the barrel.  When I do fill it, I leave it hung up.  I can just reach over the lip to put hay in.  I fluff the hay just a little once it is over the lip into the barrel, but not before (I don’t want it falling all over the ground – like in the photo above).  The other draw back, is when my ponies do decide they will share, this barrel does not really allow that.  So it is a one pony feeder.

Positive – no hay on the ground

Negative – does not hold as much hay, only allowed one pony to eat at a time.

Moving onto the other design below.


008

019

002

NET OUT THE BOTTOM

For this barrel, we did the same lid, and again drilled holes into the barrel to zip tie on the net.  The difference here is we zip tied the net on much lower in the barrel.  In the photo below you can see a line of ties about a third of the way from the bottom.  This allowed the net to stick quite far out of the bottom.  (Note – when installing the net, make it a lot tighter than you think it needs to be.  It will hang down and expand just fine.)

013

IMG_4116

What did I think?

With this design I was concerned that there would be a lot of hay on the ground, and that the ponies would mess with the net hanging out.  Neither of these ended up being the case.  I can fit just shy of a full bale of hay without fluffing the hay up or packing it too tightly.  It also allows more than one pony to eat from it at a time.

Pros – Fits more hay, allows multiple ponies to eat at the same time.

Cons – I have not found any.

In Conclusion – I love the Net Out The Bottom feeder and will be making the other two barrels into two more of these.

Yea!